
The Christmas is almost upon us and there is nothing more special than receiving a present that shows attitude and personal touch.
That's why I offer you to make a traditional Christmas tree ornament. The theme is snowy winter night because of how much I like the color combination blue, white and gold.
It takes less than half an hour and will be much fun.

- Spectrum Noir AquaTints Inks
- watercolour cardstock
- Plastic Christmas ornament -prefer traditional ball one but there are more shapes
- some stamps by choise and ink pad - use Crafter's C0mpanion clear stamp set
- colored cardstock
- refillable spray bottle, brushes
- some embellishment, paper flowers & dies by choice
- artificial snow
- glue
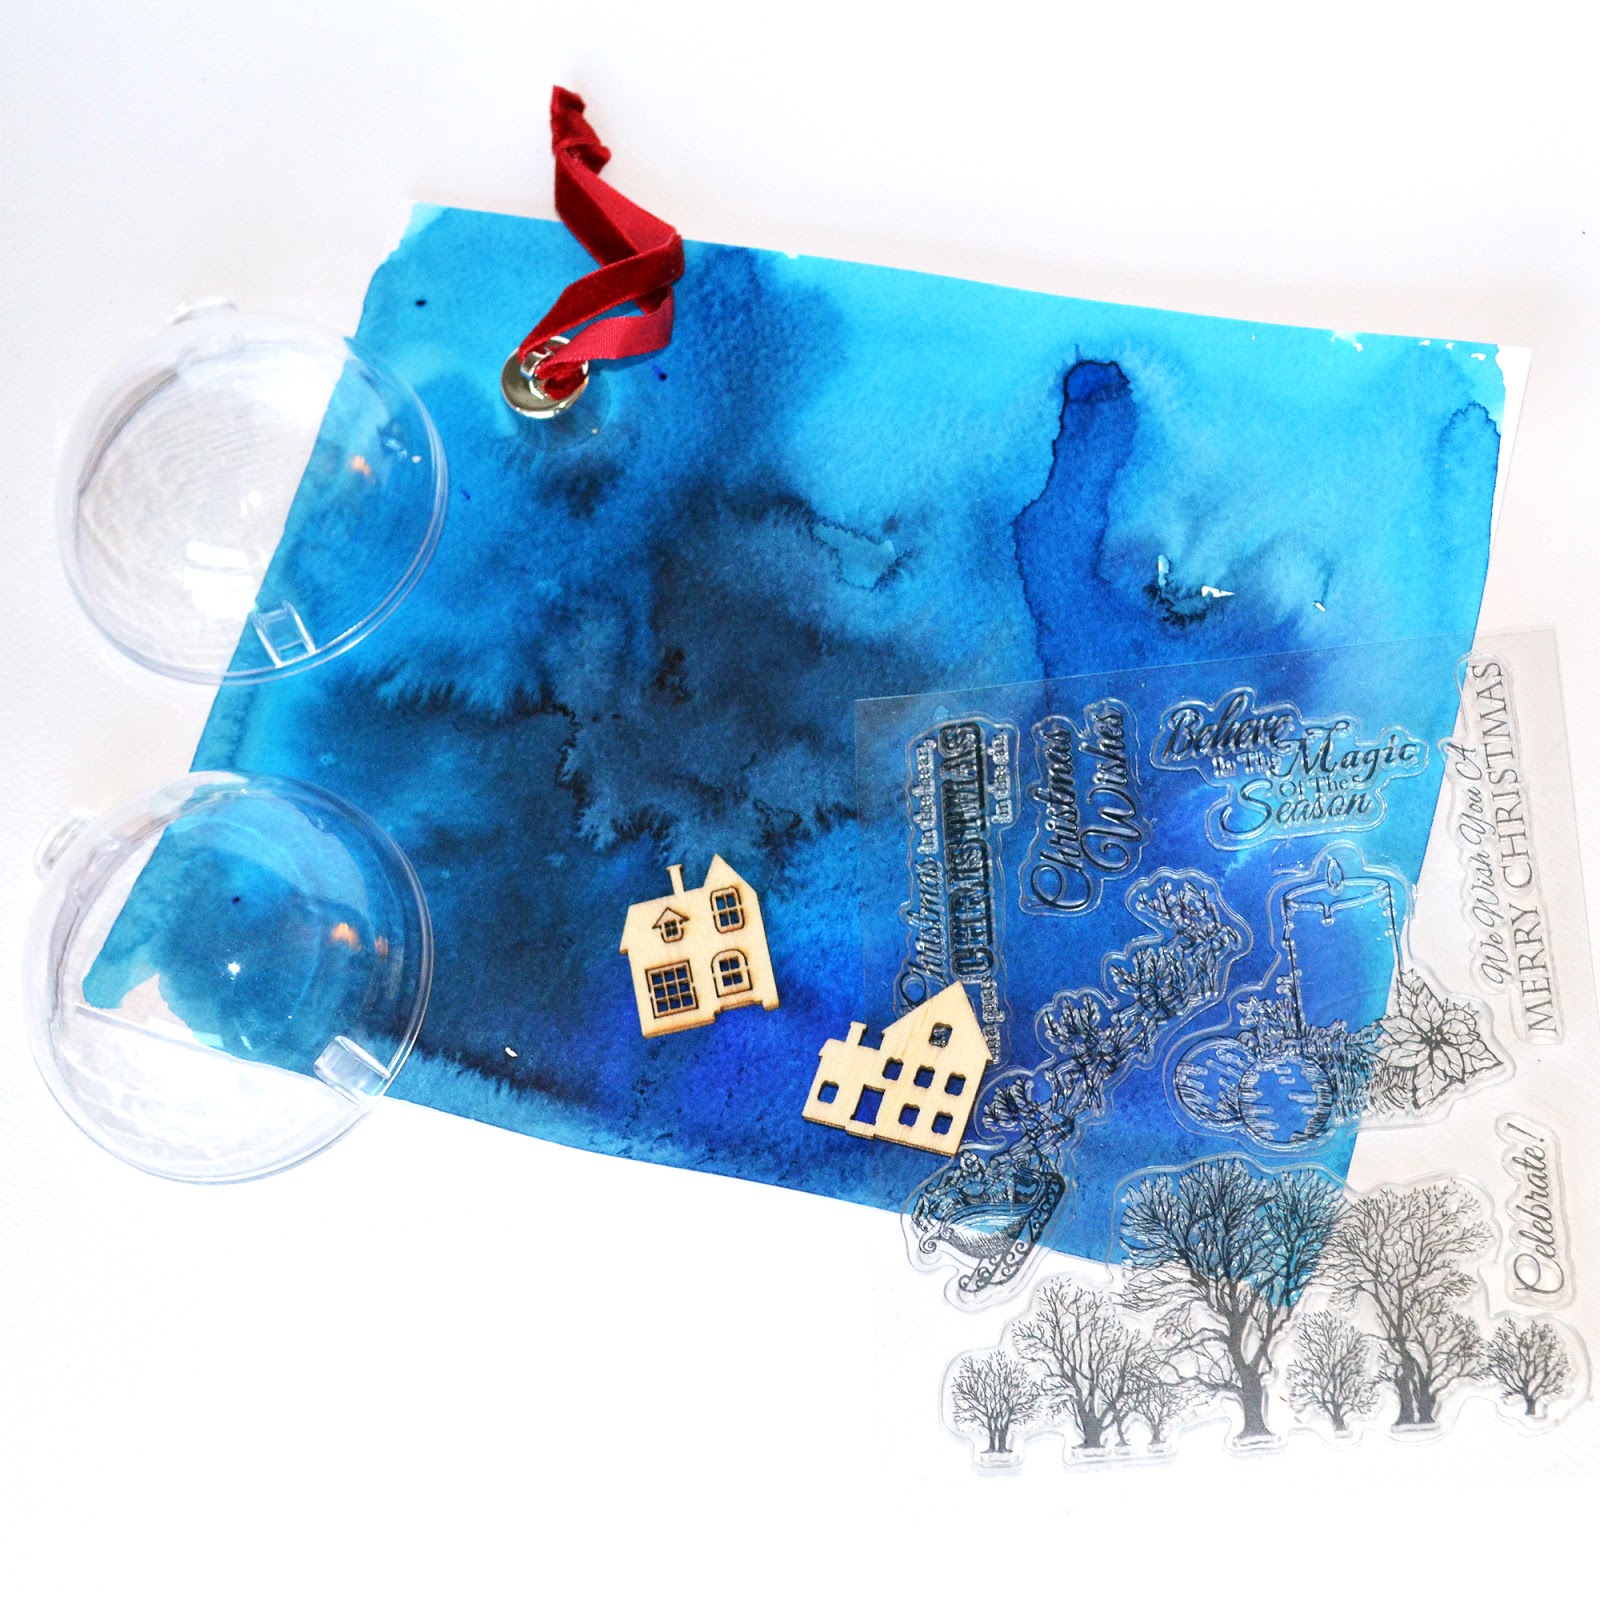
I decided to recreate a snowy Christmas night into my ornament and I have chosen dark blues AquaTints Inks and a stamp with trees used as a foreground of my winter sky. You have to create the background with your AquaTints Inks - I did choose wet on wet watercolor technique.

Step 2
After making the background you need to outline the template that was into the ball. If there's no template, outline the half of the ornament but in this case cut inside the shape to be sure the contour will fit into the plastic ornament.

Once you outline the shape continue and stamp the background. Make some snowy winter sky and trees. I wanted my winter night to be more realistic, so I stuck the warm yellow cardstock on the back of the wooden house. This way it looks like there's light through the windows.

Decorate the second background. Use it for the back side of your ornament because it has to be perfect on both sides. You can use some sentiment like me or even put a picture of your sweetheart or a baby etc.


In the end assemble the Christmas ornament. You could insert some artificial snow or ice.
Add some embellishment for example I put paper poinsettia and a few tiny cones.
02,07, 08 - Landscape & Primary sets
I hope you enjoy this and give it a try !
Share a project you make using this tutorial with us on our Facebook page, tag us on Instagram (#spectrumnoir or #spectrumaqua) or on Twitter (@SpectrumNoir)! We’re also on Pinterest so tag us there as well for a chance to get re-pinned to our Colorist Creations board!
Tutorial credit: Mila Popova


Няма коментари:
Публикуване на коментар